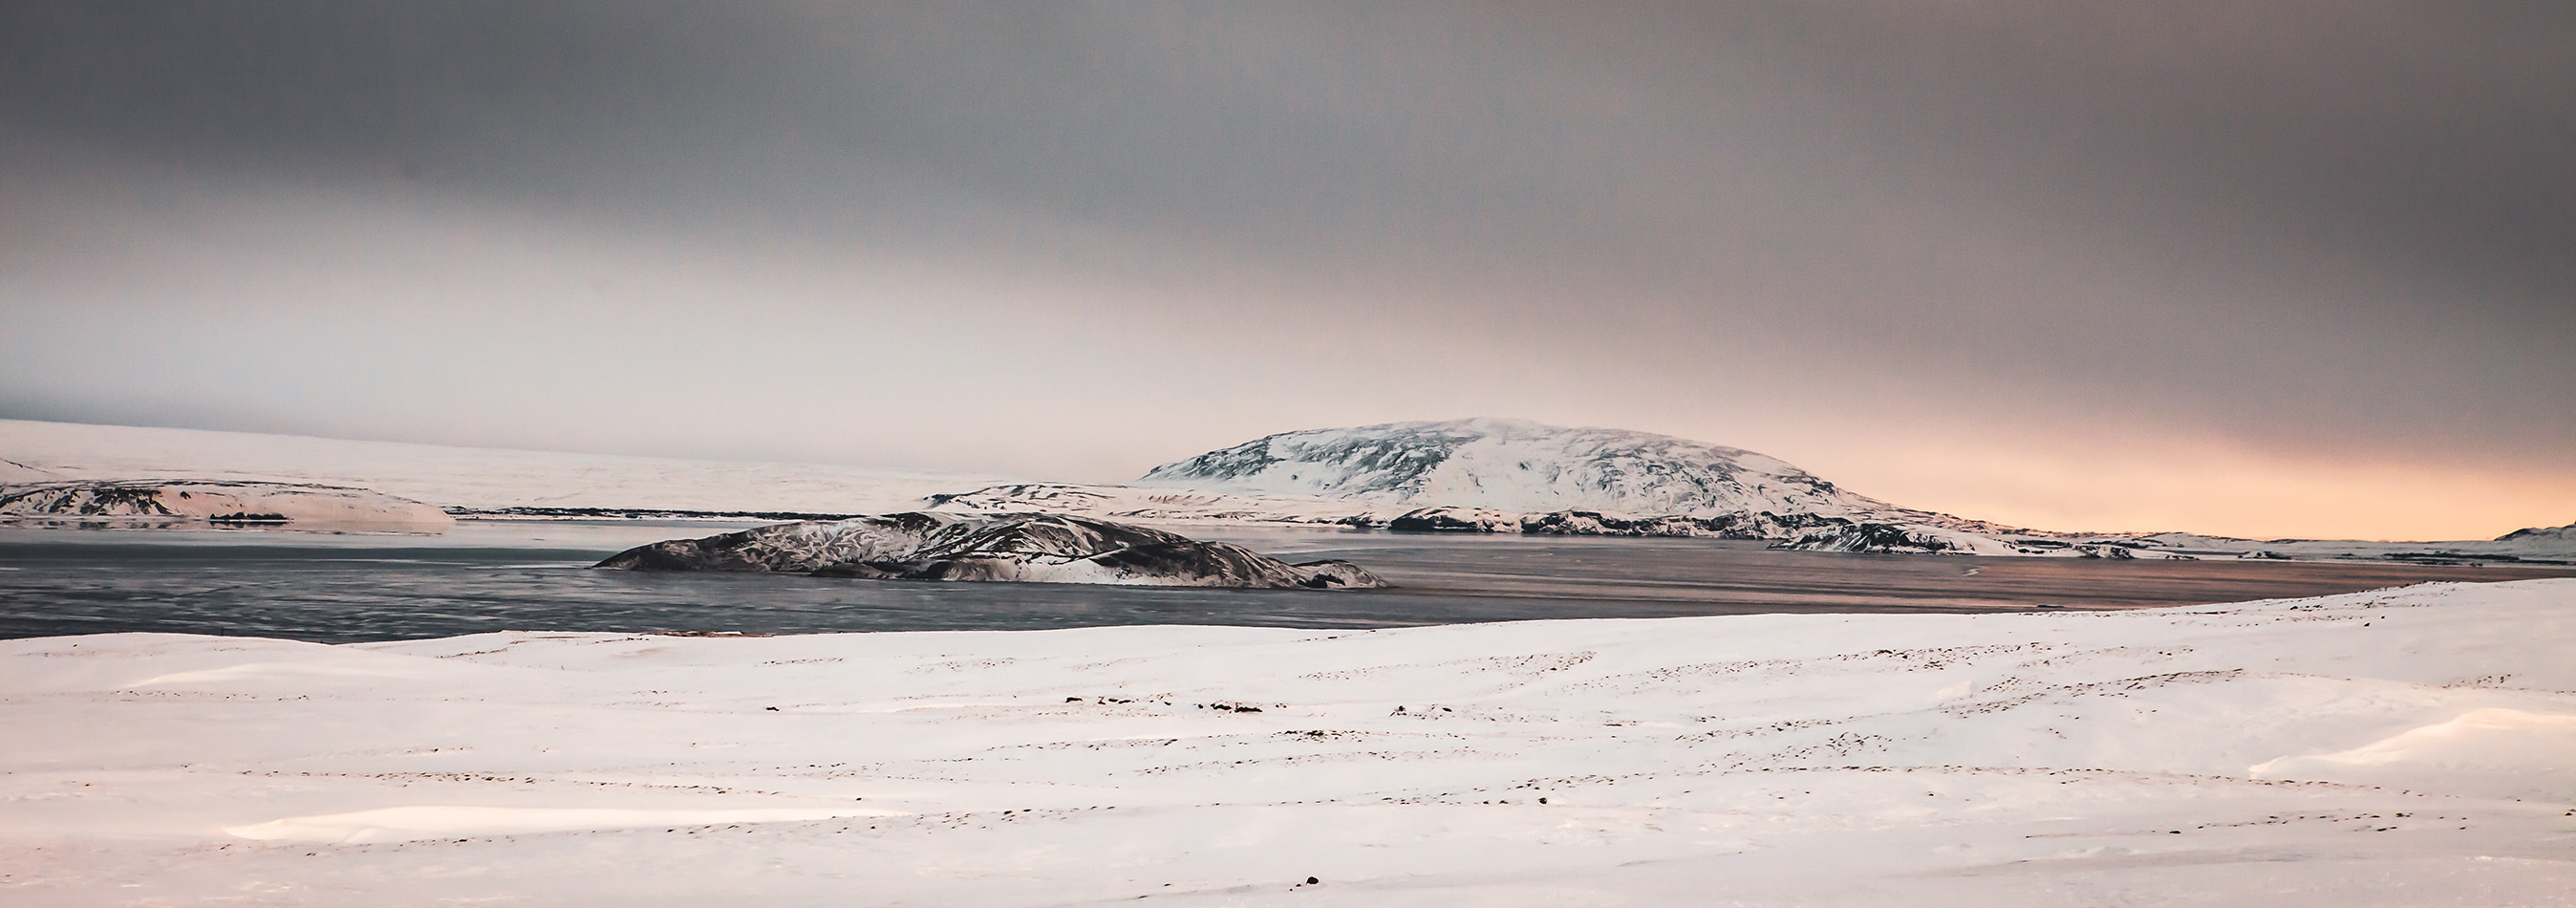
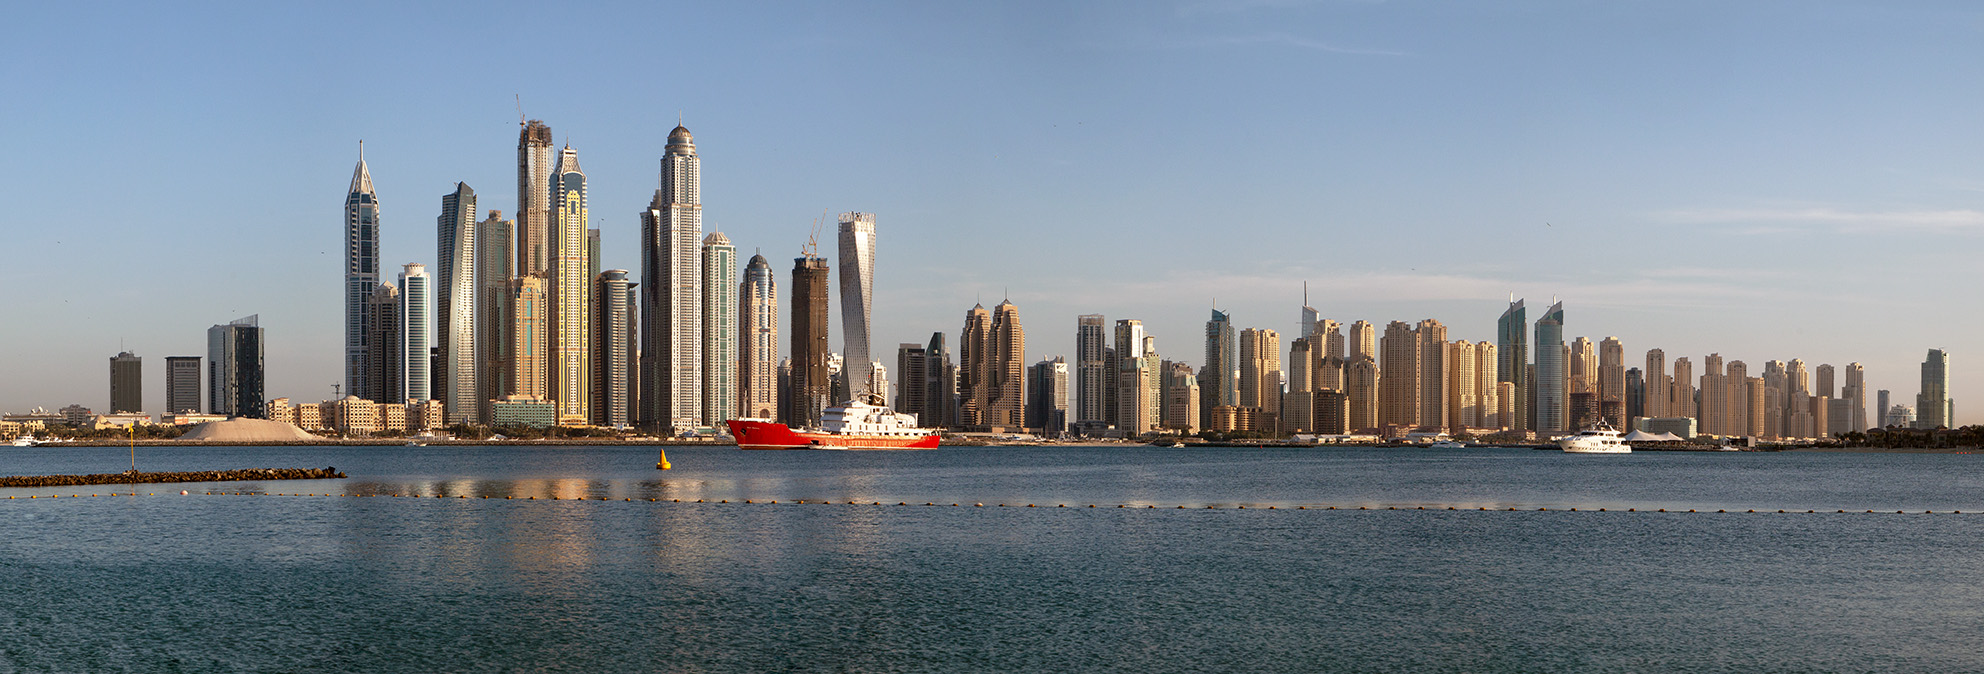
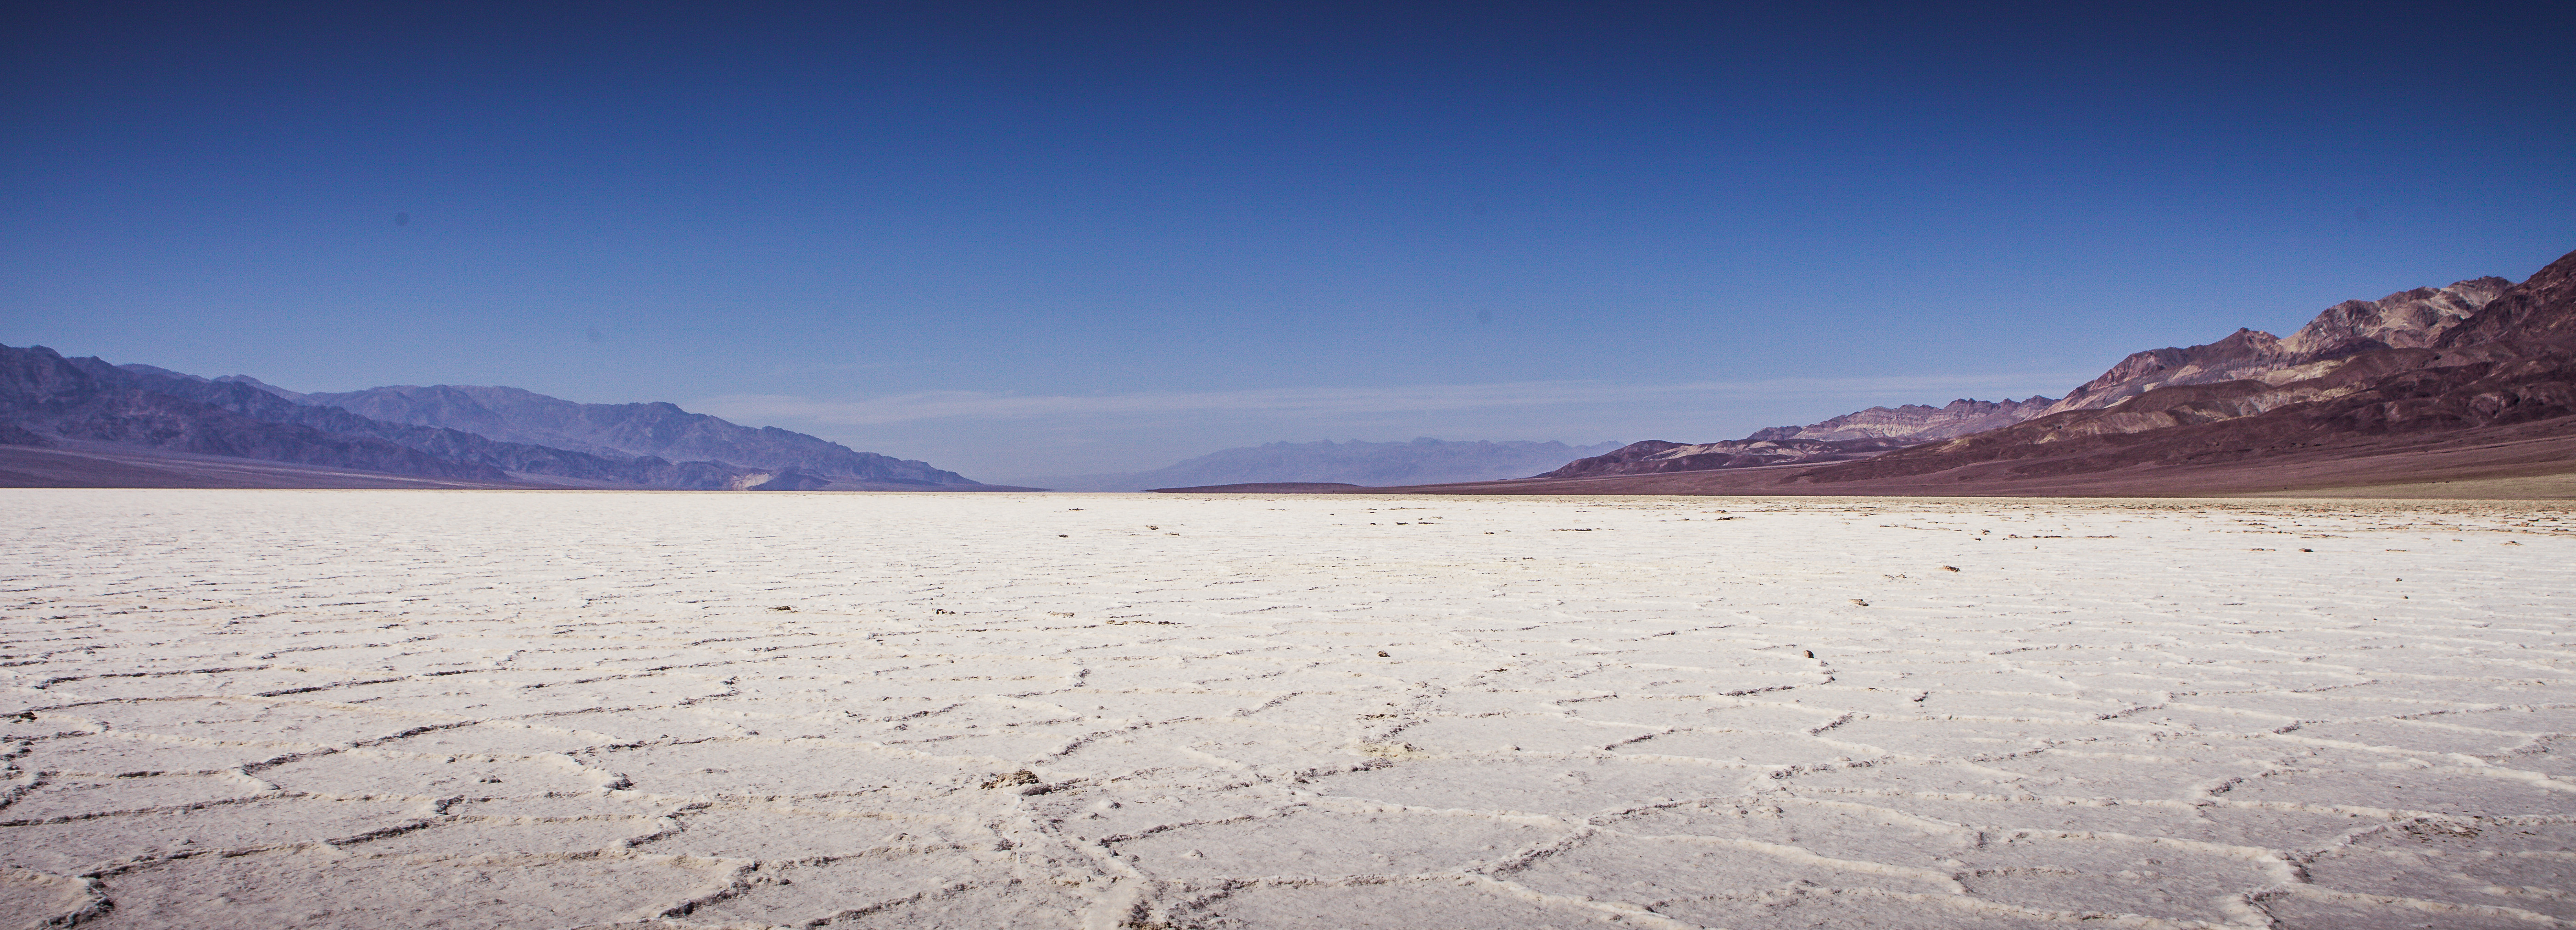
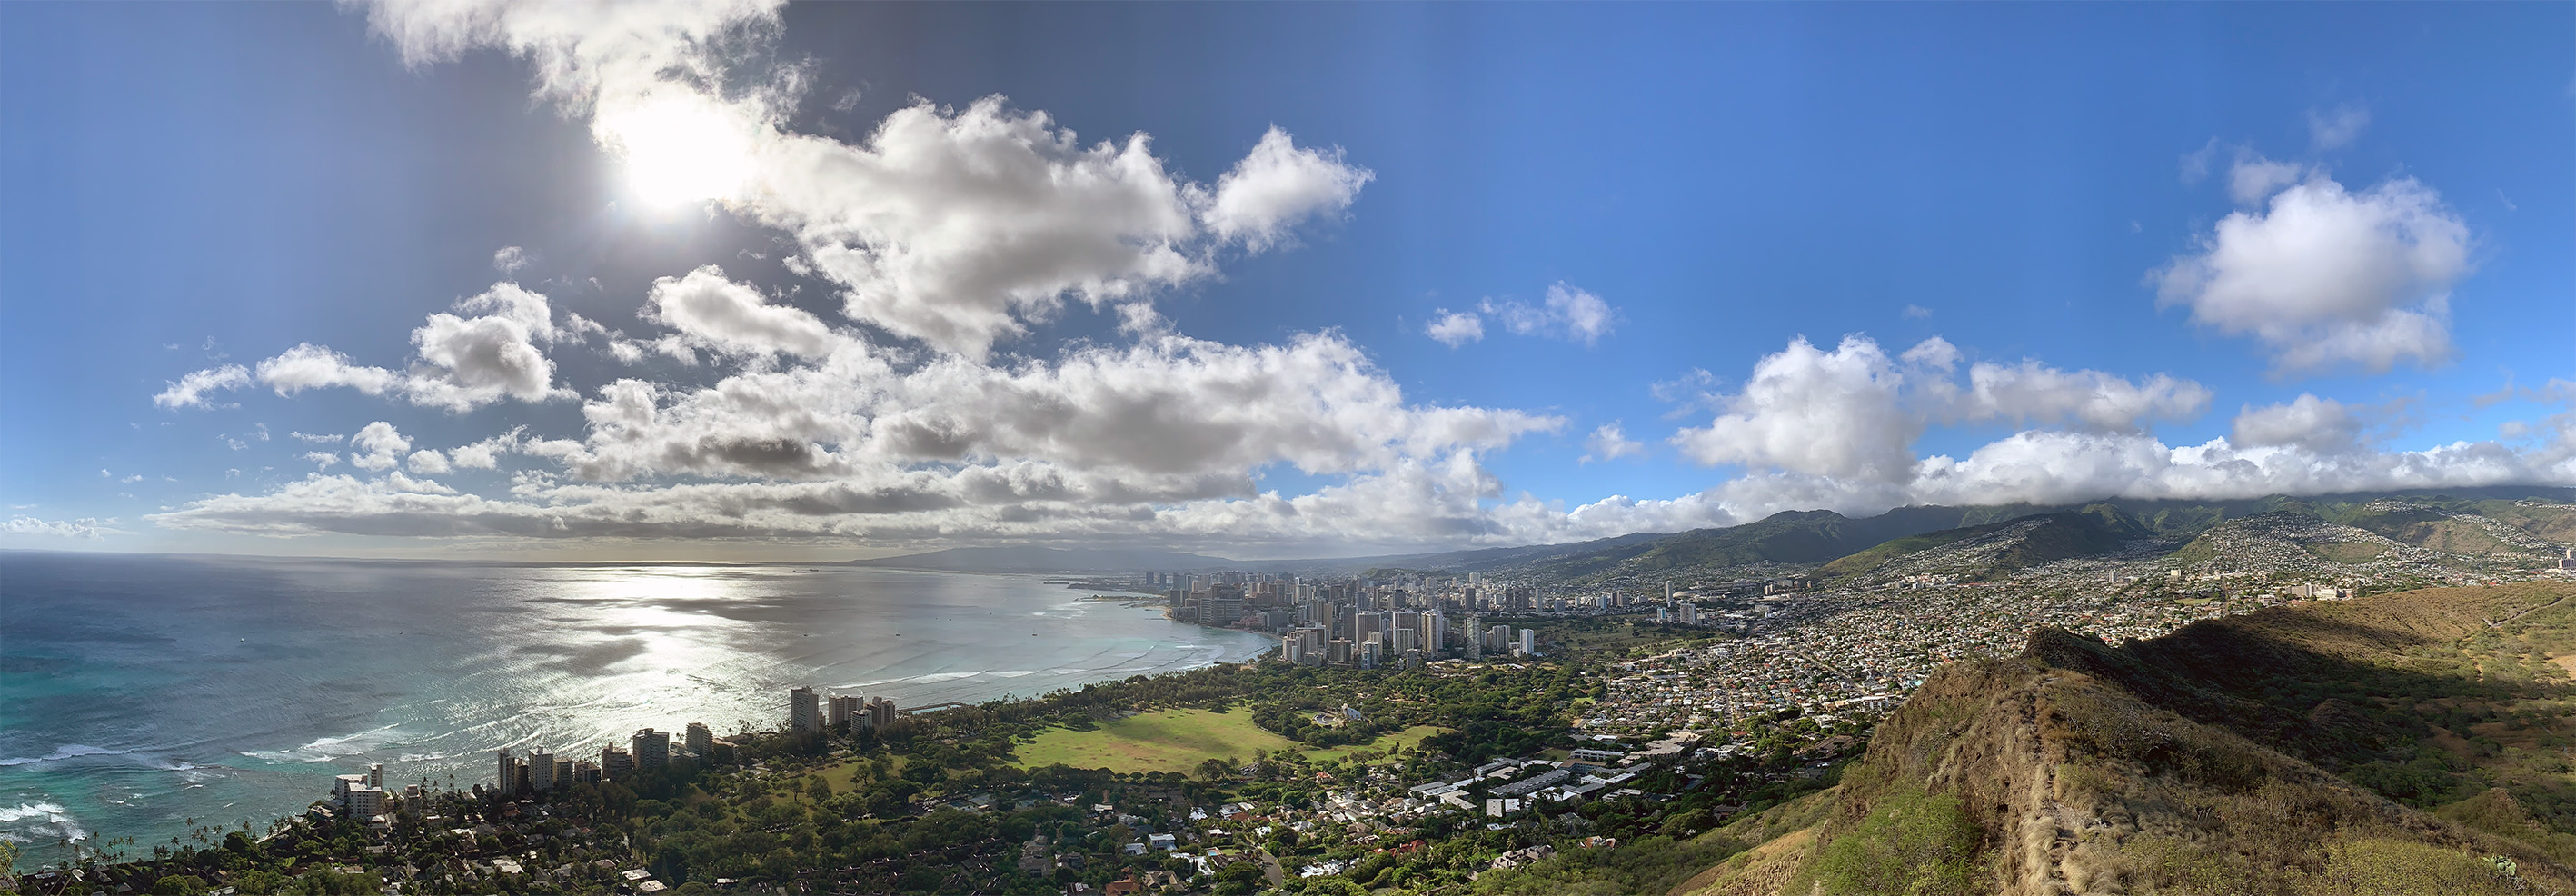
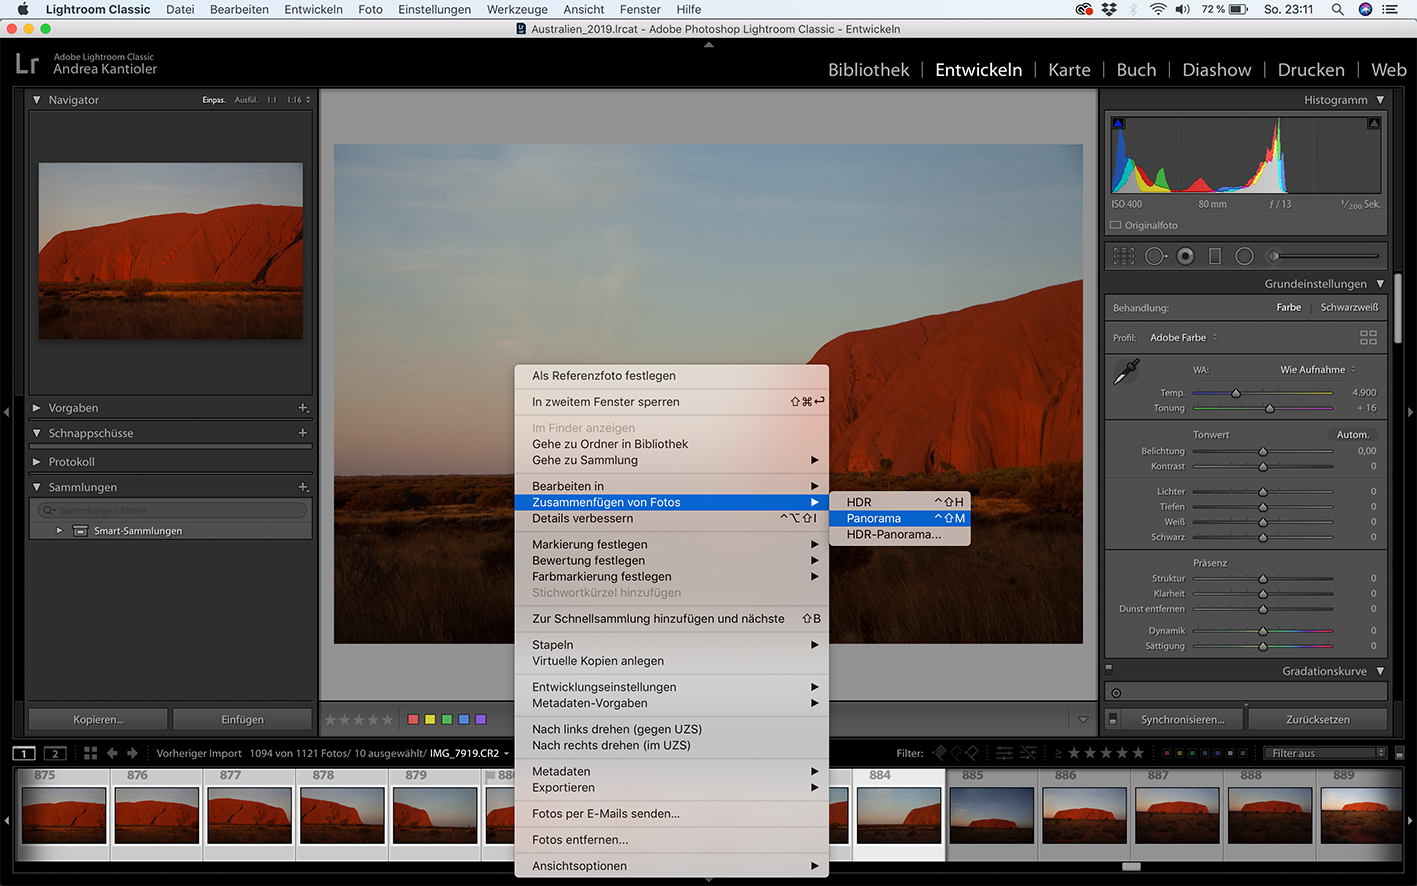
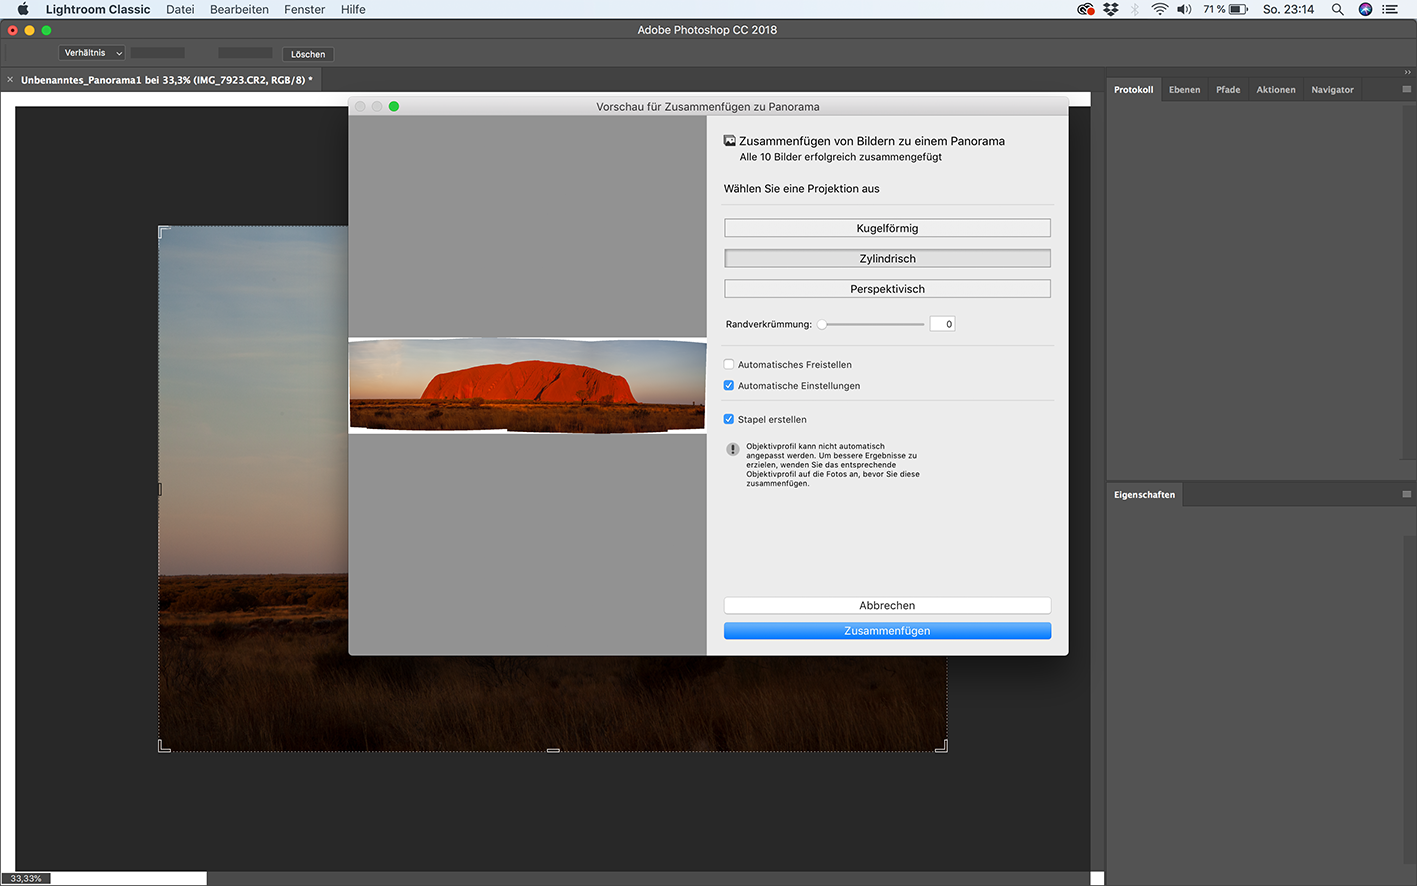
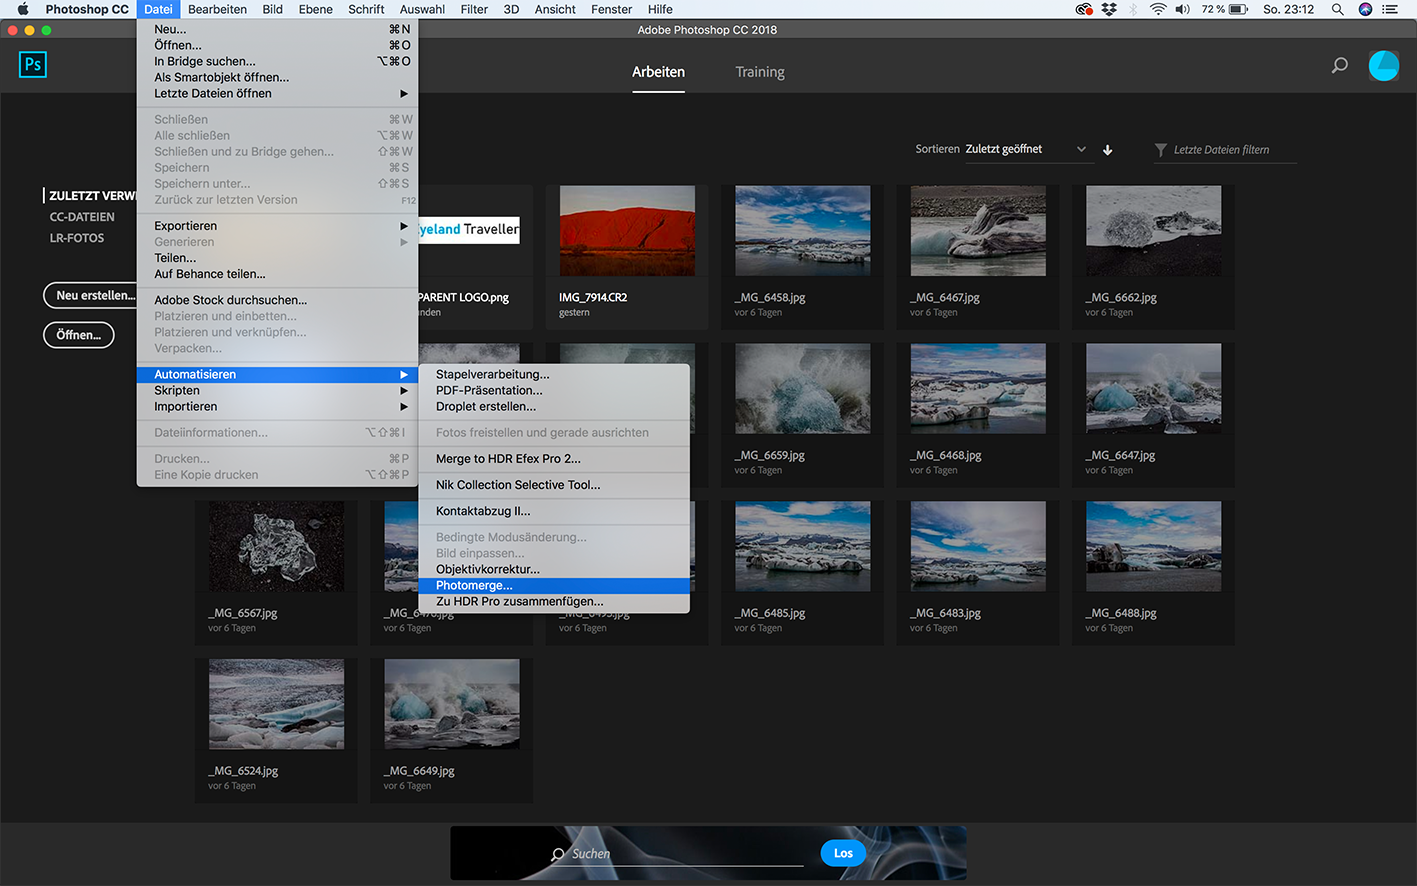
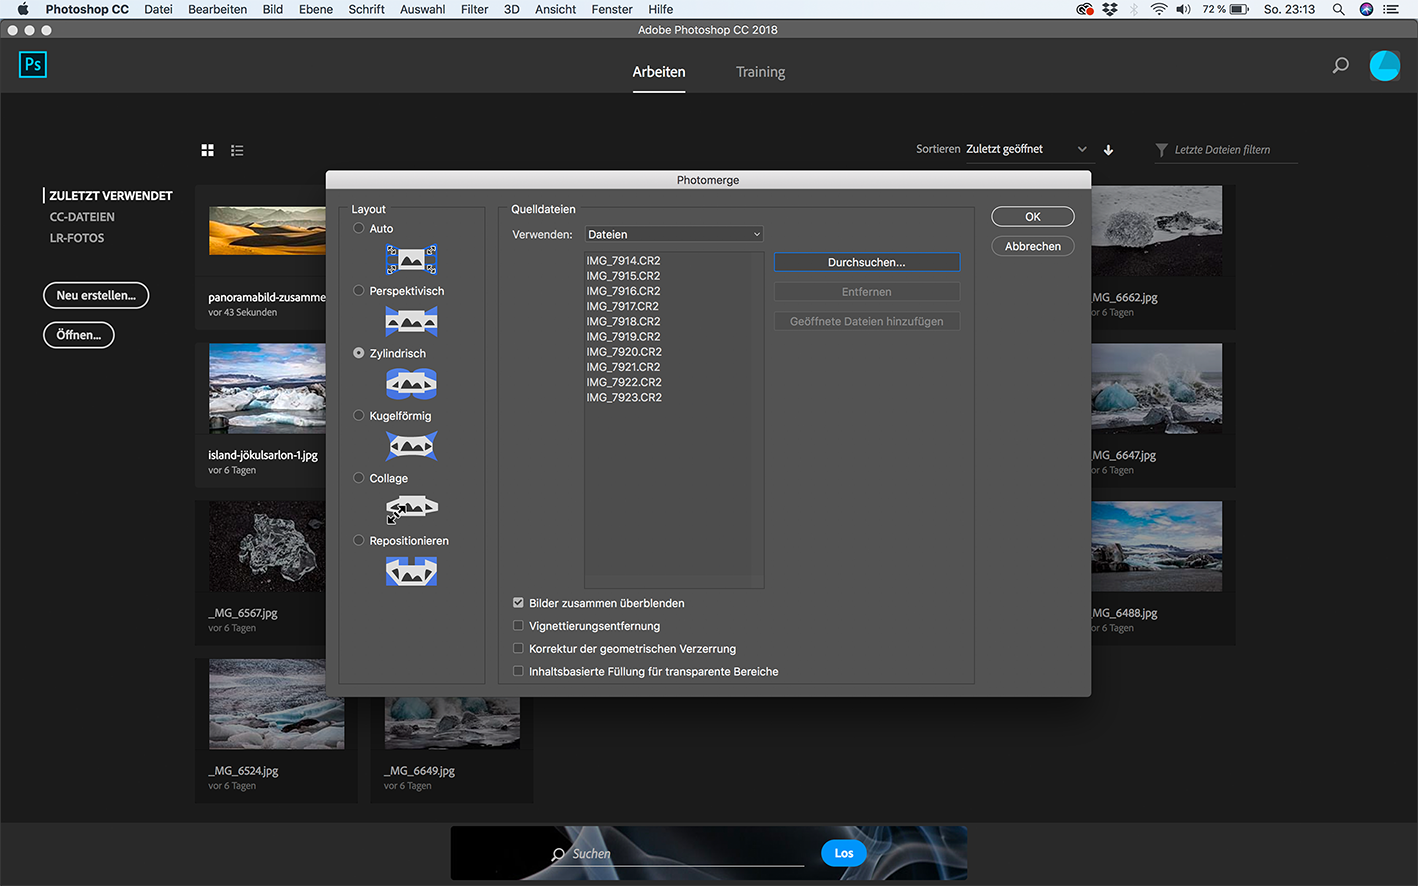
Panoramas: Composing widescreen images
Panoramas: Composing widescreen images


We have placed cookies on your computer to help make this website better. Read the cookies policy
yes, I accept the cookies